
Three photos that tell your plant’s story.
For a useful photo check-up, show the whole plant, the most affected leaf and one more informative angle. Use even daylight and sharp focus. Include the pot or soil where useful; a close-up of damaged tissue alone leaves out important context.
Updated
-
The whole plant
Step back until the plant and the top of its pot fit in the frame. Show where the affected leaves sit relative to healthy growth.
-
The affected leaf
Get close enough to show the damage clearly, including some surrounding tissue. Keep the camera steady and tap to focus.
-
Another useful angle
Show the leaf underside, stem base or potting mix. Choose the part that adds information the first two photos do not show.
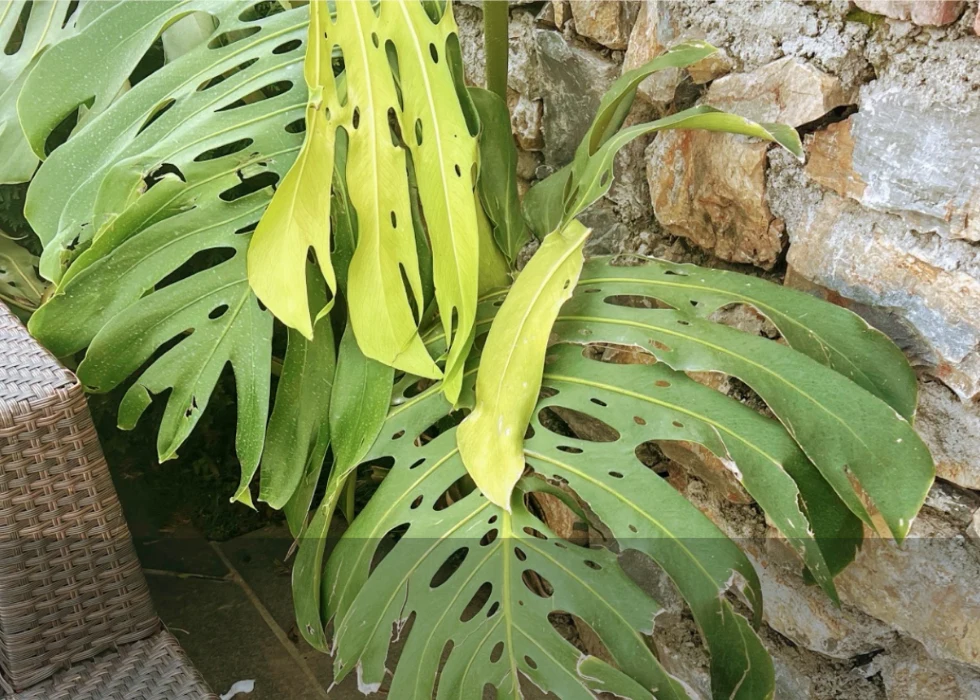
Before you press the shutter
- Use indirect daylight and avoid a bright window directly behind the plant.
- Check that the leaf is sharp when you zoom in on the photo.
- Use current photos of the same plant. Avoid filters that change color.
- Photograph the plant before removing the affected leaves.
- Add context: recent watering, a move, repotting or when the change started.
What good photos cannot show
A clear photo still cannot reveal the condition of buried roots or confirm every disease. Plant Doctor suggests likely causes and expresses uncertainty. An in-person assessment may be needed if a plant is deteriorating or the result does not fit what you observe.
Photo questions
Can I choose photos from my library?
Yes. Use recent, clear photos of the same plant that show its current condition. Older images may not represent the problem you are checking now.
What happens to photos after a check-up?
Photos and submitted context are processed for the response and are not retained by us afterward. They are not used to train AI models. Your saved garden lives on your device. See the Privacy Policy for details.
Your first 7 check-ups are free. No account needed.